Develop and Run an SDL2/C++ Project entirely in your Browser using Replit
Cloud-based IDEs have become more and more popular these days. The appeal is obvious: It works out of the box. You can use any browser — it doesn’t even have to be on your PC. And you can switch between devices seamlessly — no need to save and upload your code to continue working from another device. Note: this is not an SDL2 or C++ tutorial.
What is Replit?
Cloud-based IDEs were mainly used for web development not long ago, but the range of supported languages, toolchains and frameworks is evergrowing. Replit.com is a collaborative online IDE and also a hosting platform. You create a project, you build and run it on Replit servers, and you can share it with the community — for everyone to see, run and fork.
Replit provides a VM that runs Ubuntu 20.04 LTS with the Nix package manager. Nix currently has over 80.000 packages in its stable channel, and the number is growing. The provided VM also has X11 support, making running and developing graphical programs possible. Replit.com can be used entirely free to make as many public Repls (projects) as you want. There are paid plans with which you can create private Repls and double the performance of your Repl’s VM. Also, Replit has a great mobile site and an App for Android and iOS.
What is SDL2?
Simple DirectMedia Layer is a cross-platform development library designed to provide low level access to audio, keyboard, mouse, joystick, and graphics hardware via OpenGL and Direct3D. It is used by video playback software, emulators, and popular games including Valve’s award winning catalog and many Humble Bundle games.
SDL officially supports Windows, macOS, Linux, iOS, and Android. Support for other platforms may be found in the source code.
SDL is written in C, works natively with C++, and there are bindings available for several other languages, including C# and Python.
Prerequisites
For this tutorial, any device equipped with a browser will work. While not an absolute requirement, a physical keyboard is recommended for the best experience.
Creating a Repl
Step 1: Create a New Repl
We can either log in with an existing account or sign up for free. After logging in, we’ll be directed to our workspace. The “Create Repl” button at the top right corner lets us create a new Repl.
Step 2: Choose a Project Type
In the “Create a Repl” dialogue, we can choose between importing code from a GitHub repository or creating a new Repl.
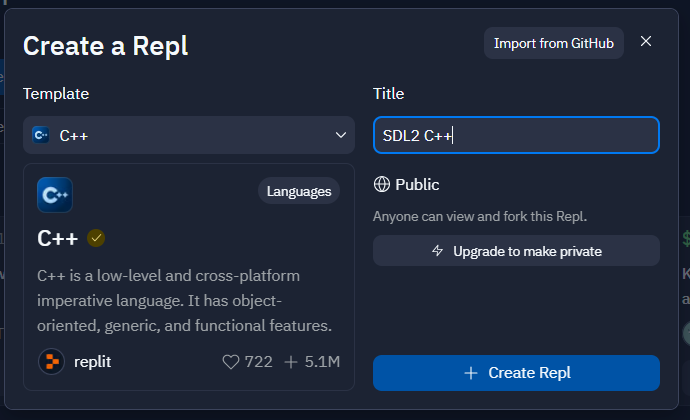
To create a new Repl, we have to choose a template first. Replit offers a variety of templates created by both the Replit team and the community. For our SDL2/C++ project, we select the C++ template. Let’s name it “SDL2 C++”.
Step 3: First Look at the Editor
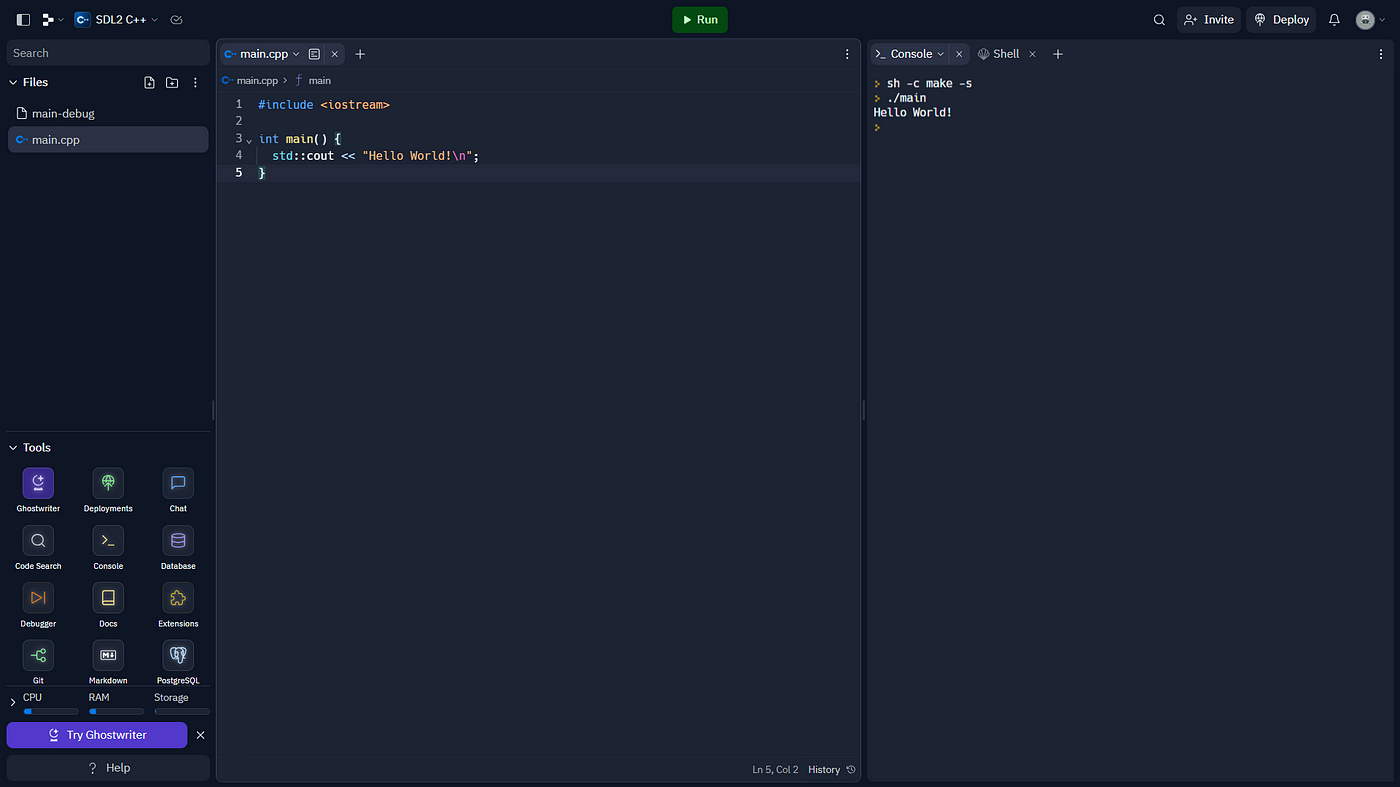
Once the Repl is created, we are taken to the code editor. The file main.cpp already contains a basic “Hello World” code snippet and is located in the middle of the editor. To the left, we find the file browser and to the right, the console and a shell. There is only one console — where we’ll automatically see the output of our program — but any number of additional shells can be opened.
Step 4: Run Your Code
The “Run” button at the top of the screen automatically compiles and runs our code. When running our code, we can see “Hello World!” printed in the console at the bottom of the screen.
Setting up SDL2 Libraries and CMake
For larger projects and those that involve multiple third-party libraries, it’s a good practice to use CMake for building and configuring. While there’s a CMake template available in Replit, we want to set it up ourselves to understand better how the configurations work.
Step 1: Configuring Project Files
We click the three dots in the file browser and enable “Show Hidden Files.” This will reveal files that are usually hidden in the file browser.
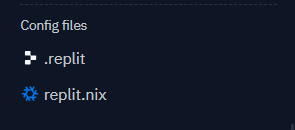
Each Repl is configured through two files: replit.nix and .replit.
We open replit.nix and replace gnumake with cmake and add pkgs.SDL2 to the list of packages. This ensures that the SDL2 library is available for our project. Our replit.nix file should look like this:
{ pkgs }: {
	deps = [
		pkgs.clang_12
		pkgs.ccls
		pkgs.gdb
		pkgs.cmake
        pkgs.SDL2
	];
}
We can also delete the following files: Makefile, main.o, main, and main-debug since we will use CMake from here on.
Step 2: Create a CMake Project
We create a new CMakeLists.txt and add the following content to the file:
cmake_minimum_required(VERSION 3.0)
project(sdl2cpp)
find_package(SDL2 REQUIRED)
add_executable(${PROJECT_NAME} main.cpp)
target_link_libraries(${PROJECT_NAME} PRIVATE SDL2::SDL2)
Step 4: Edit .replit File
We open the .replit file and edit the list of hidden files to only hide .ccls-cache. Then we change the build command to use CMake for building:
compile = "cmake -B/tmp/build . && make -C /tmp/build"We also have to change the run command to execute the newly built program:
run = "/tmp/build/./sdl2cpp"Step 5: Testing our Setup
We click the “Run” button to ensure everything compiles and runs without errors. We should see the output of our SDL2 C++ application in the console.
Hallo SDL2
Having successfully set up a functional CMake project, it’s time to create a window – the SDL2 counterpart of a “Hello World” program. In the following code, we’ll initialise SDL2 and create a window.
First, we include the necessary headers: SDL.h and iostream to print error messages.
#include <SDL.h>
#include <iostream>
using std::cout;
using std::endl;
WIDTH and HEIGHT will be the dimensions of our window.
const int WIDTH = 300;
const int HEIGHT = 300;
SDL_Window is the actual window, while SDL_Surface is the canvas inside the window that we can draw on.
int main(int argc, char *args[]) {
  SDL_Window *window = NULL;
  SDL_Surface *surface = NULL;
SDL_Init initialises SDL2. There are many configuration options, but we only use the Video subsystem for this simple example. If the initialisation fails, we print an error message and exit. SDL_GetError() provides more details on what went wrong. SDL_Quit() shuts down SDL2 properly. If the initialisation succeeds, we create a window named “Hallo SDL” and the WITH and HEIGHT we defined earlier. Again, if the window creation fails, we print an error message and quit.
if (SDL_Init(SDL_INIT_VIDEO) < 0) {
    cout << "Error during SDL_Init: " << SDL_GetError() << endl;
    SDL_Quit();
    return -1;
  } else {

    window = SDL_CreateWindow("Hello SDL", SDL_WINDOWPOS_UNDEFINED,
                              SDL_WINDOWPOS_UNDEFINED, WIDTH,
                              HEIGHT, SDL_WINDOW_SHOWN);
    if (window == NULL) {
      cout << "Error during SDL_CreateWindow: " << SDL_GetError() << endl;
      SDL_Quit();
      return -1;
   }
  }
After initialising SDL2, we set up a while-loop that continues running until the window is closed.
SDL_Event e;
bool quit = false;
while (quit == false) {
  while (SDL_PollEvent(&e)) {
    if (e.type == SDL_QUIT)
      quit = true;
  }
Then we get the surface from our window, set the background colour to grey and update the window. We delay the loop for 100 ms to conserve CPU time.
  surface = SDL_GetWindowSurface(window);
    SDL_FillRect(surface, NULL,
                 SDL_MapRGB(surface->format, 0x3F, 0x3F, 0x3F));
    SDL_UpdateWindowSurface(window);
    SDL_Delay(100);
  }
Lastly, when the window is closed, we destroy the window and shut down SDL2.
SDL_DestroyWindow(window);
SDL_Quit();
return 0;
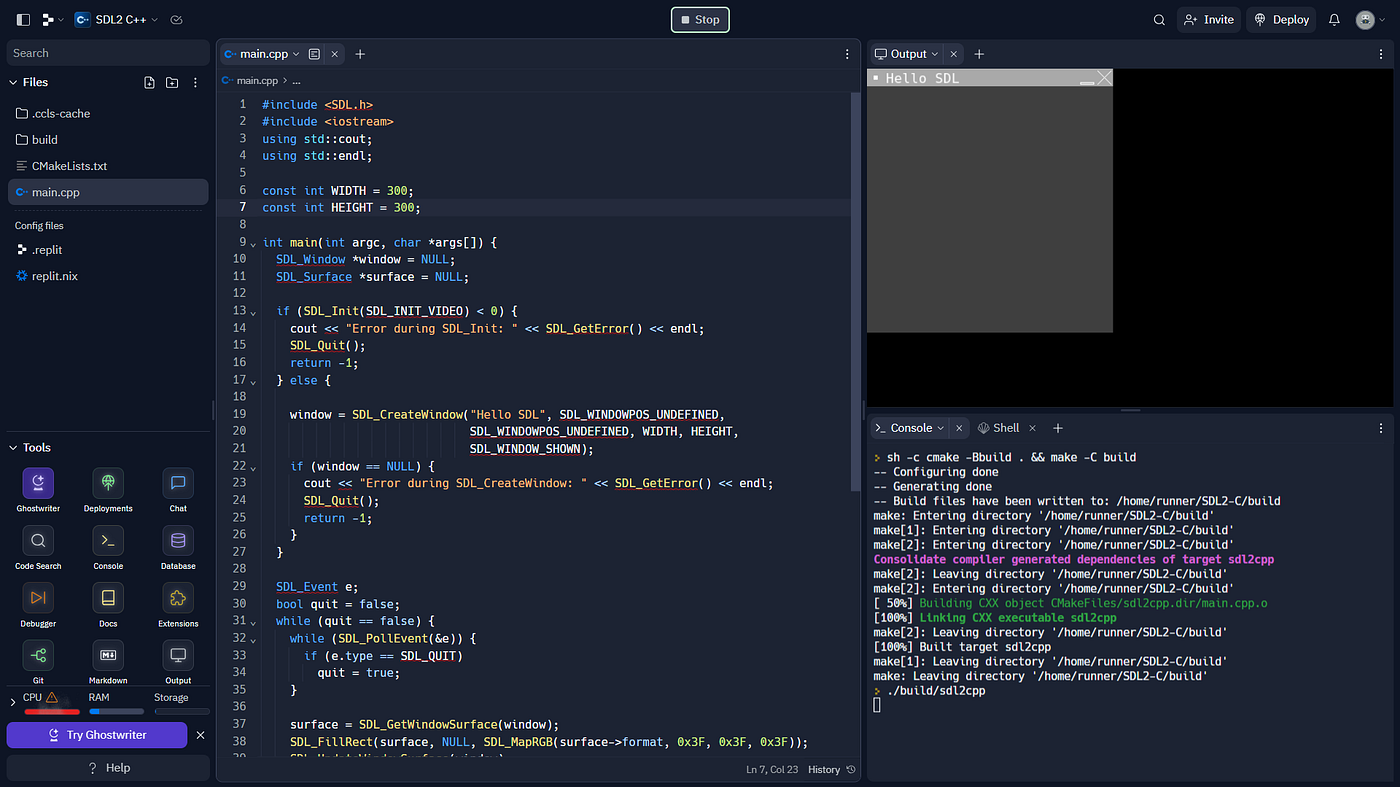
}When we run our project, a new tab opens. Within the Output tab, we can see a window labelled “Hello SDL”.
Conclusion
You can make graphical applications using SDL2 and C++ right from your browser on any device. But can you make games? If you’re using a free Replit account, just be ready for a bit of a speed bump when crafting more complex games. Nevertheless, simple games like Tic Tac Toe, Snake, Pong, and more are absolutely possible and are perfect for learning SDL2 and game development in general.
If you have trouble following the tutorial, you can check out and fork my SDL2 C++ Repl here.